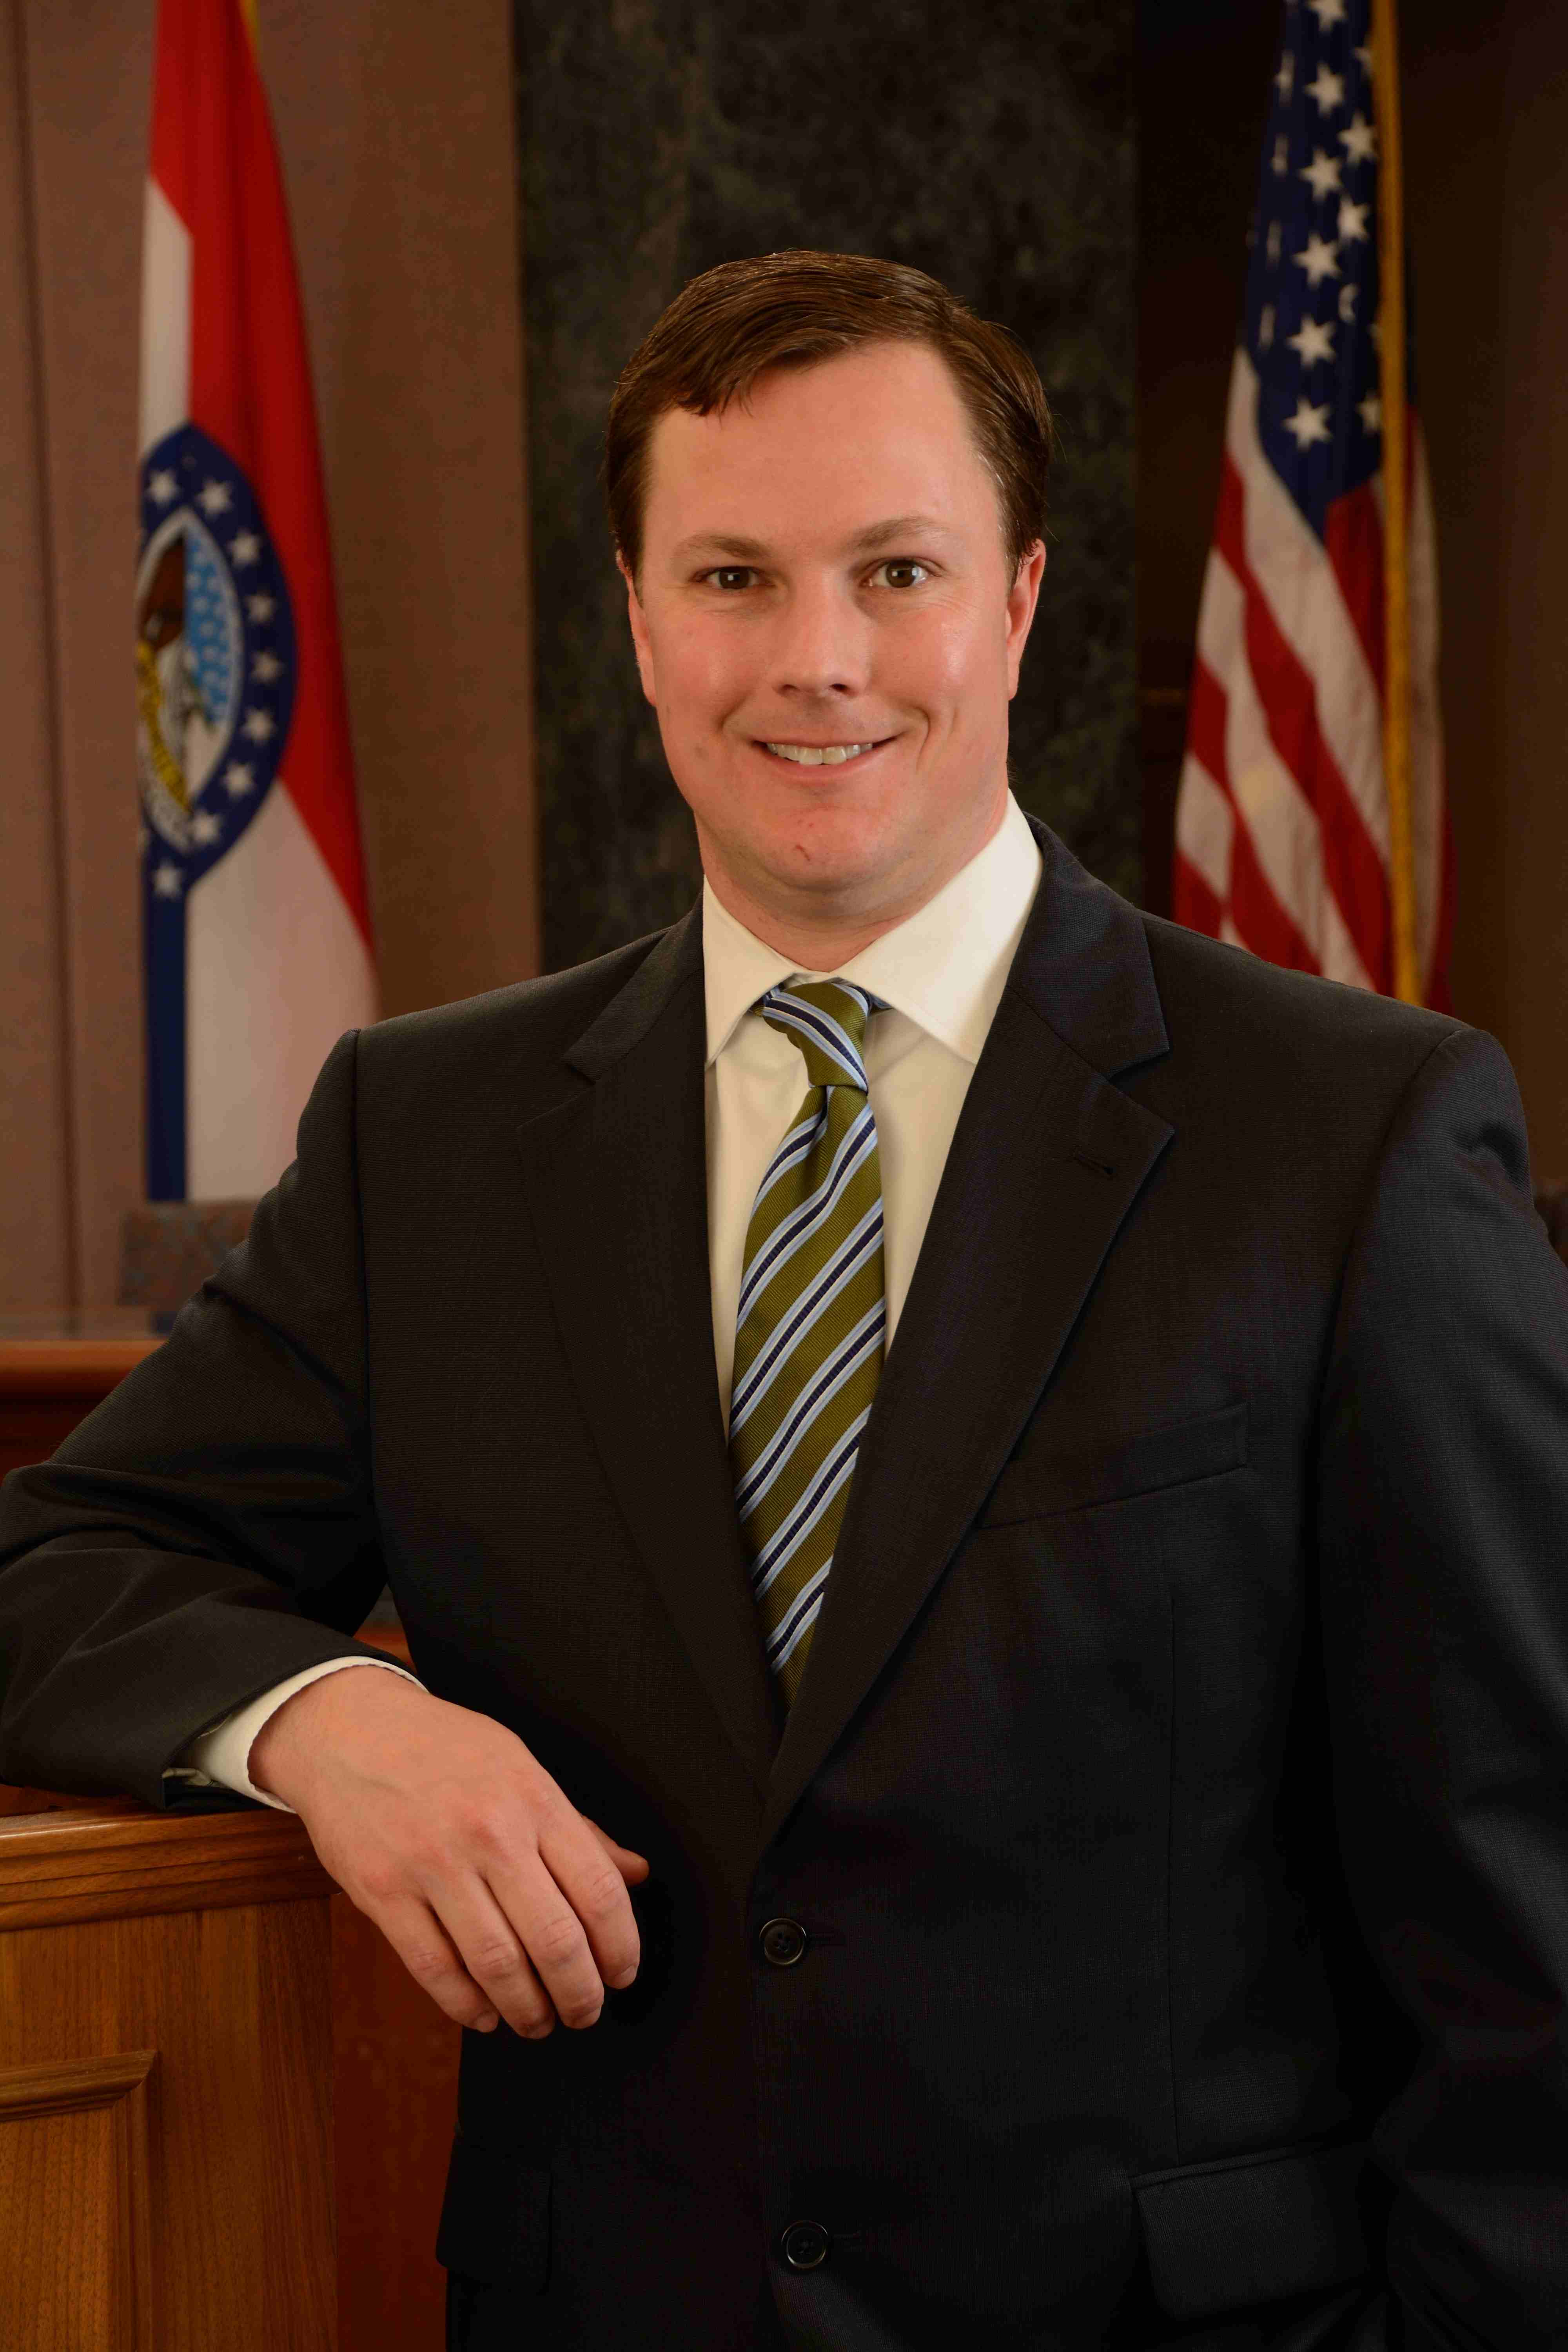
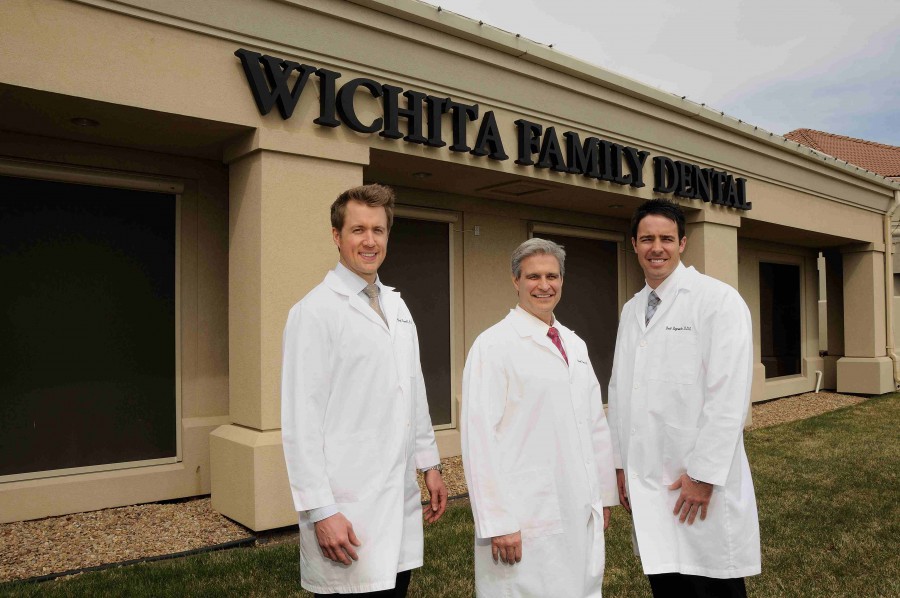
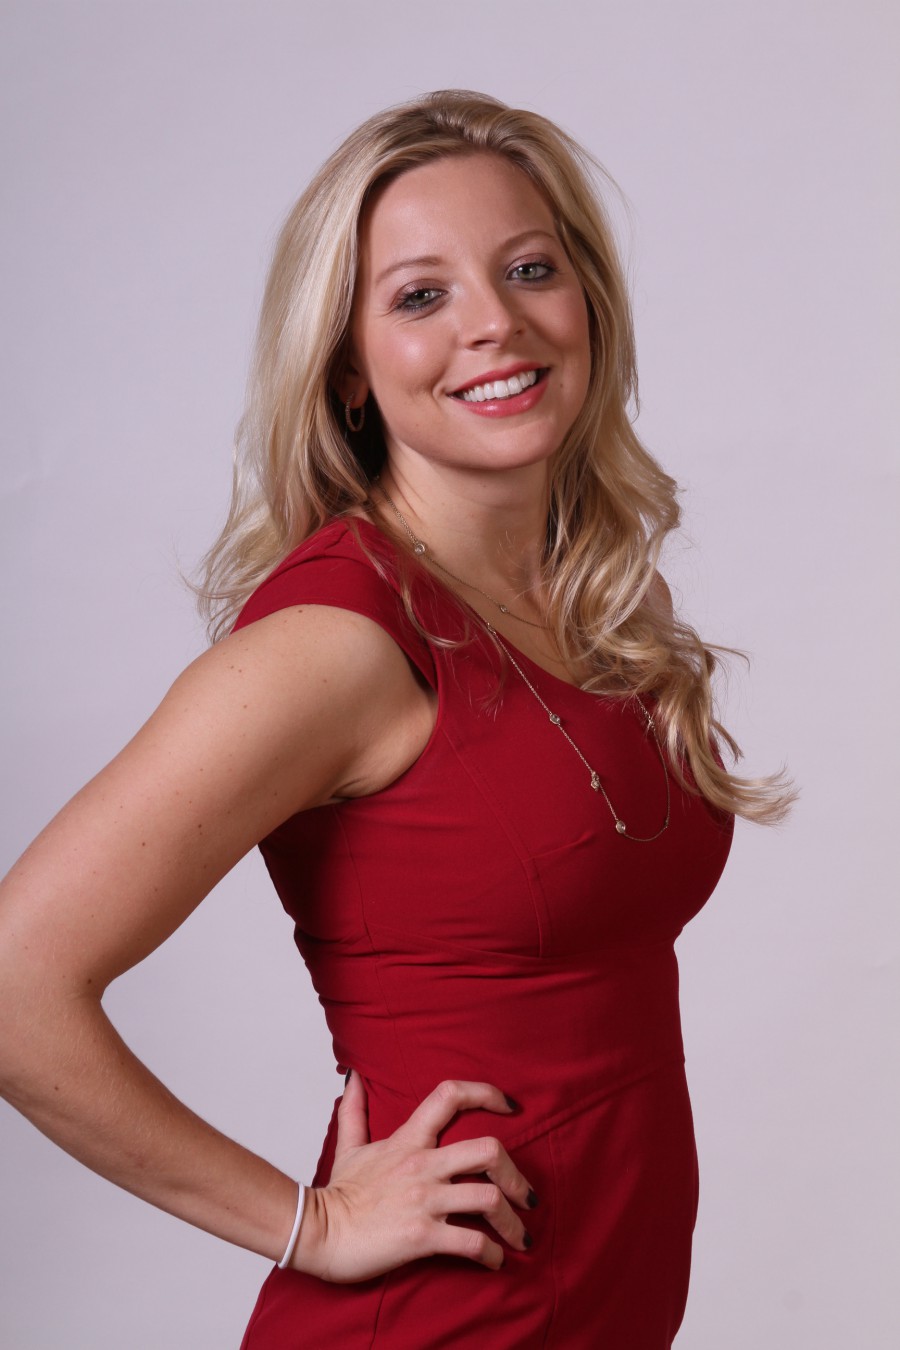
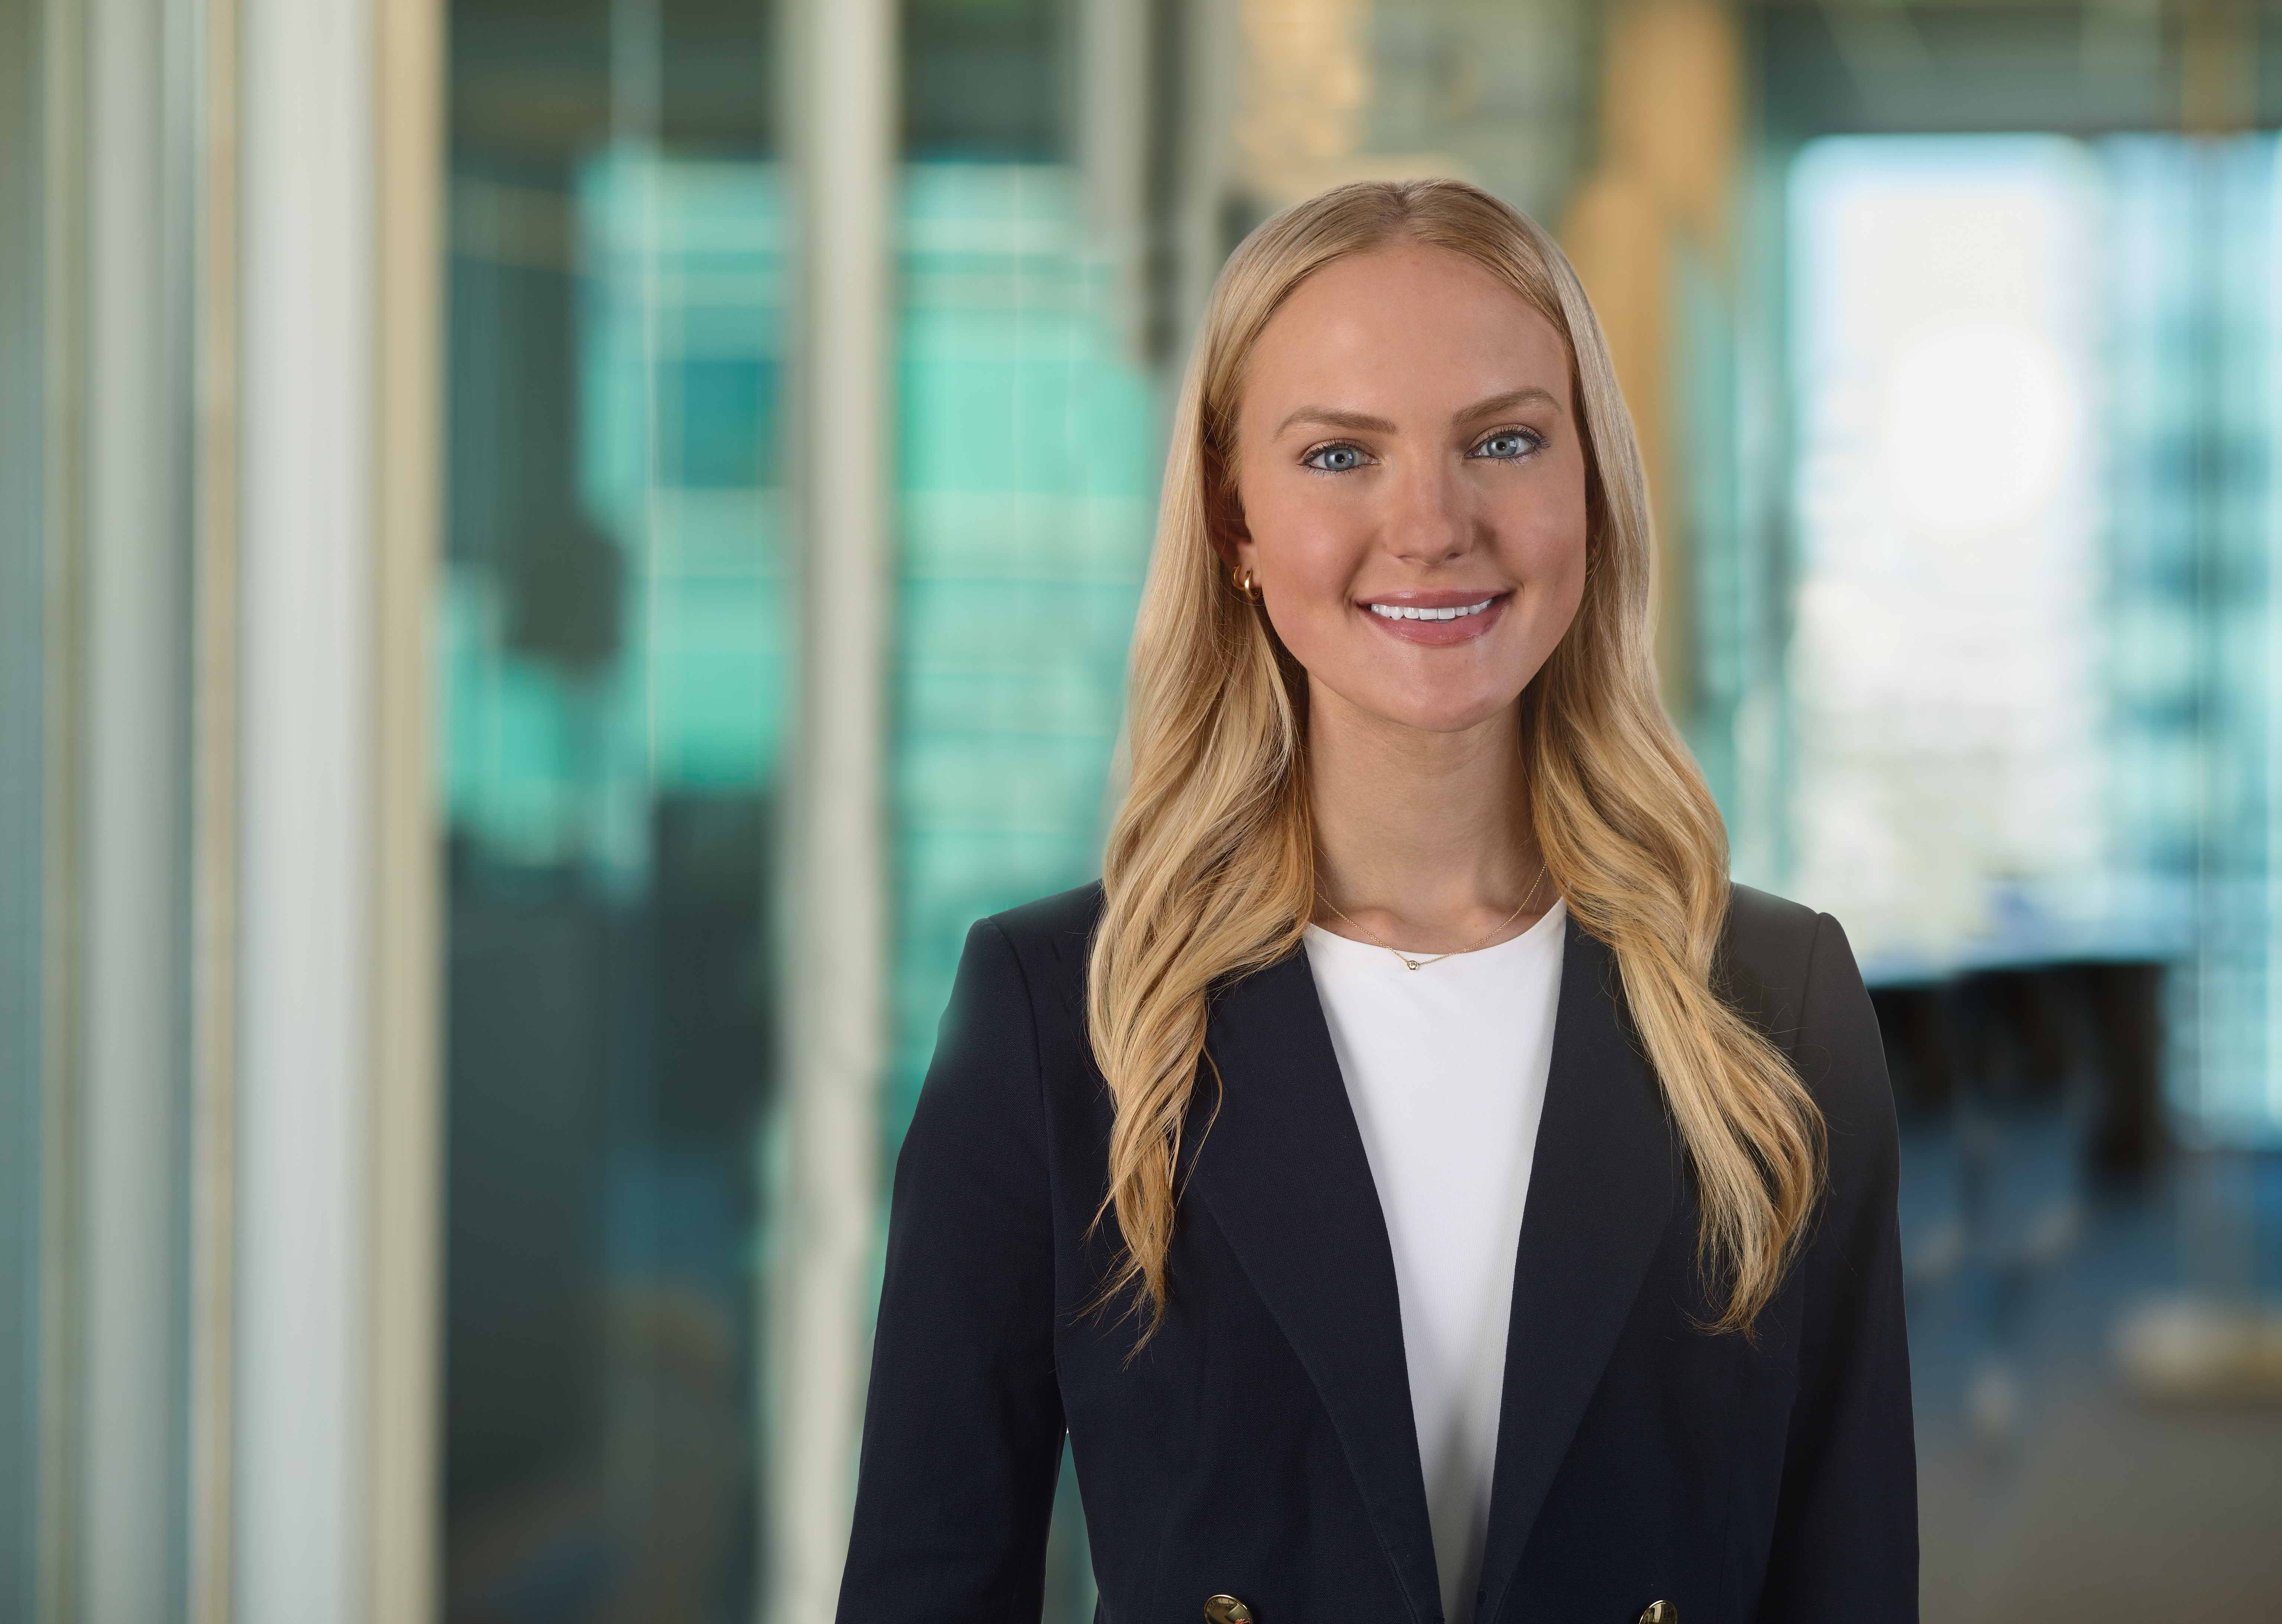
Most organizations have brand standards for logos, colors, fonts, and messaging. But the visual element people see most often—on your website, proposals, LinkedIn, email signatures, speaker bios, and recruiting pages—isn’t your logo.
It’s your people.
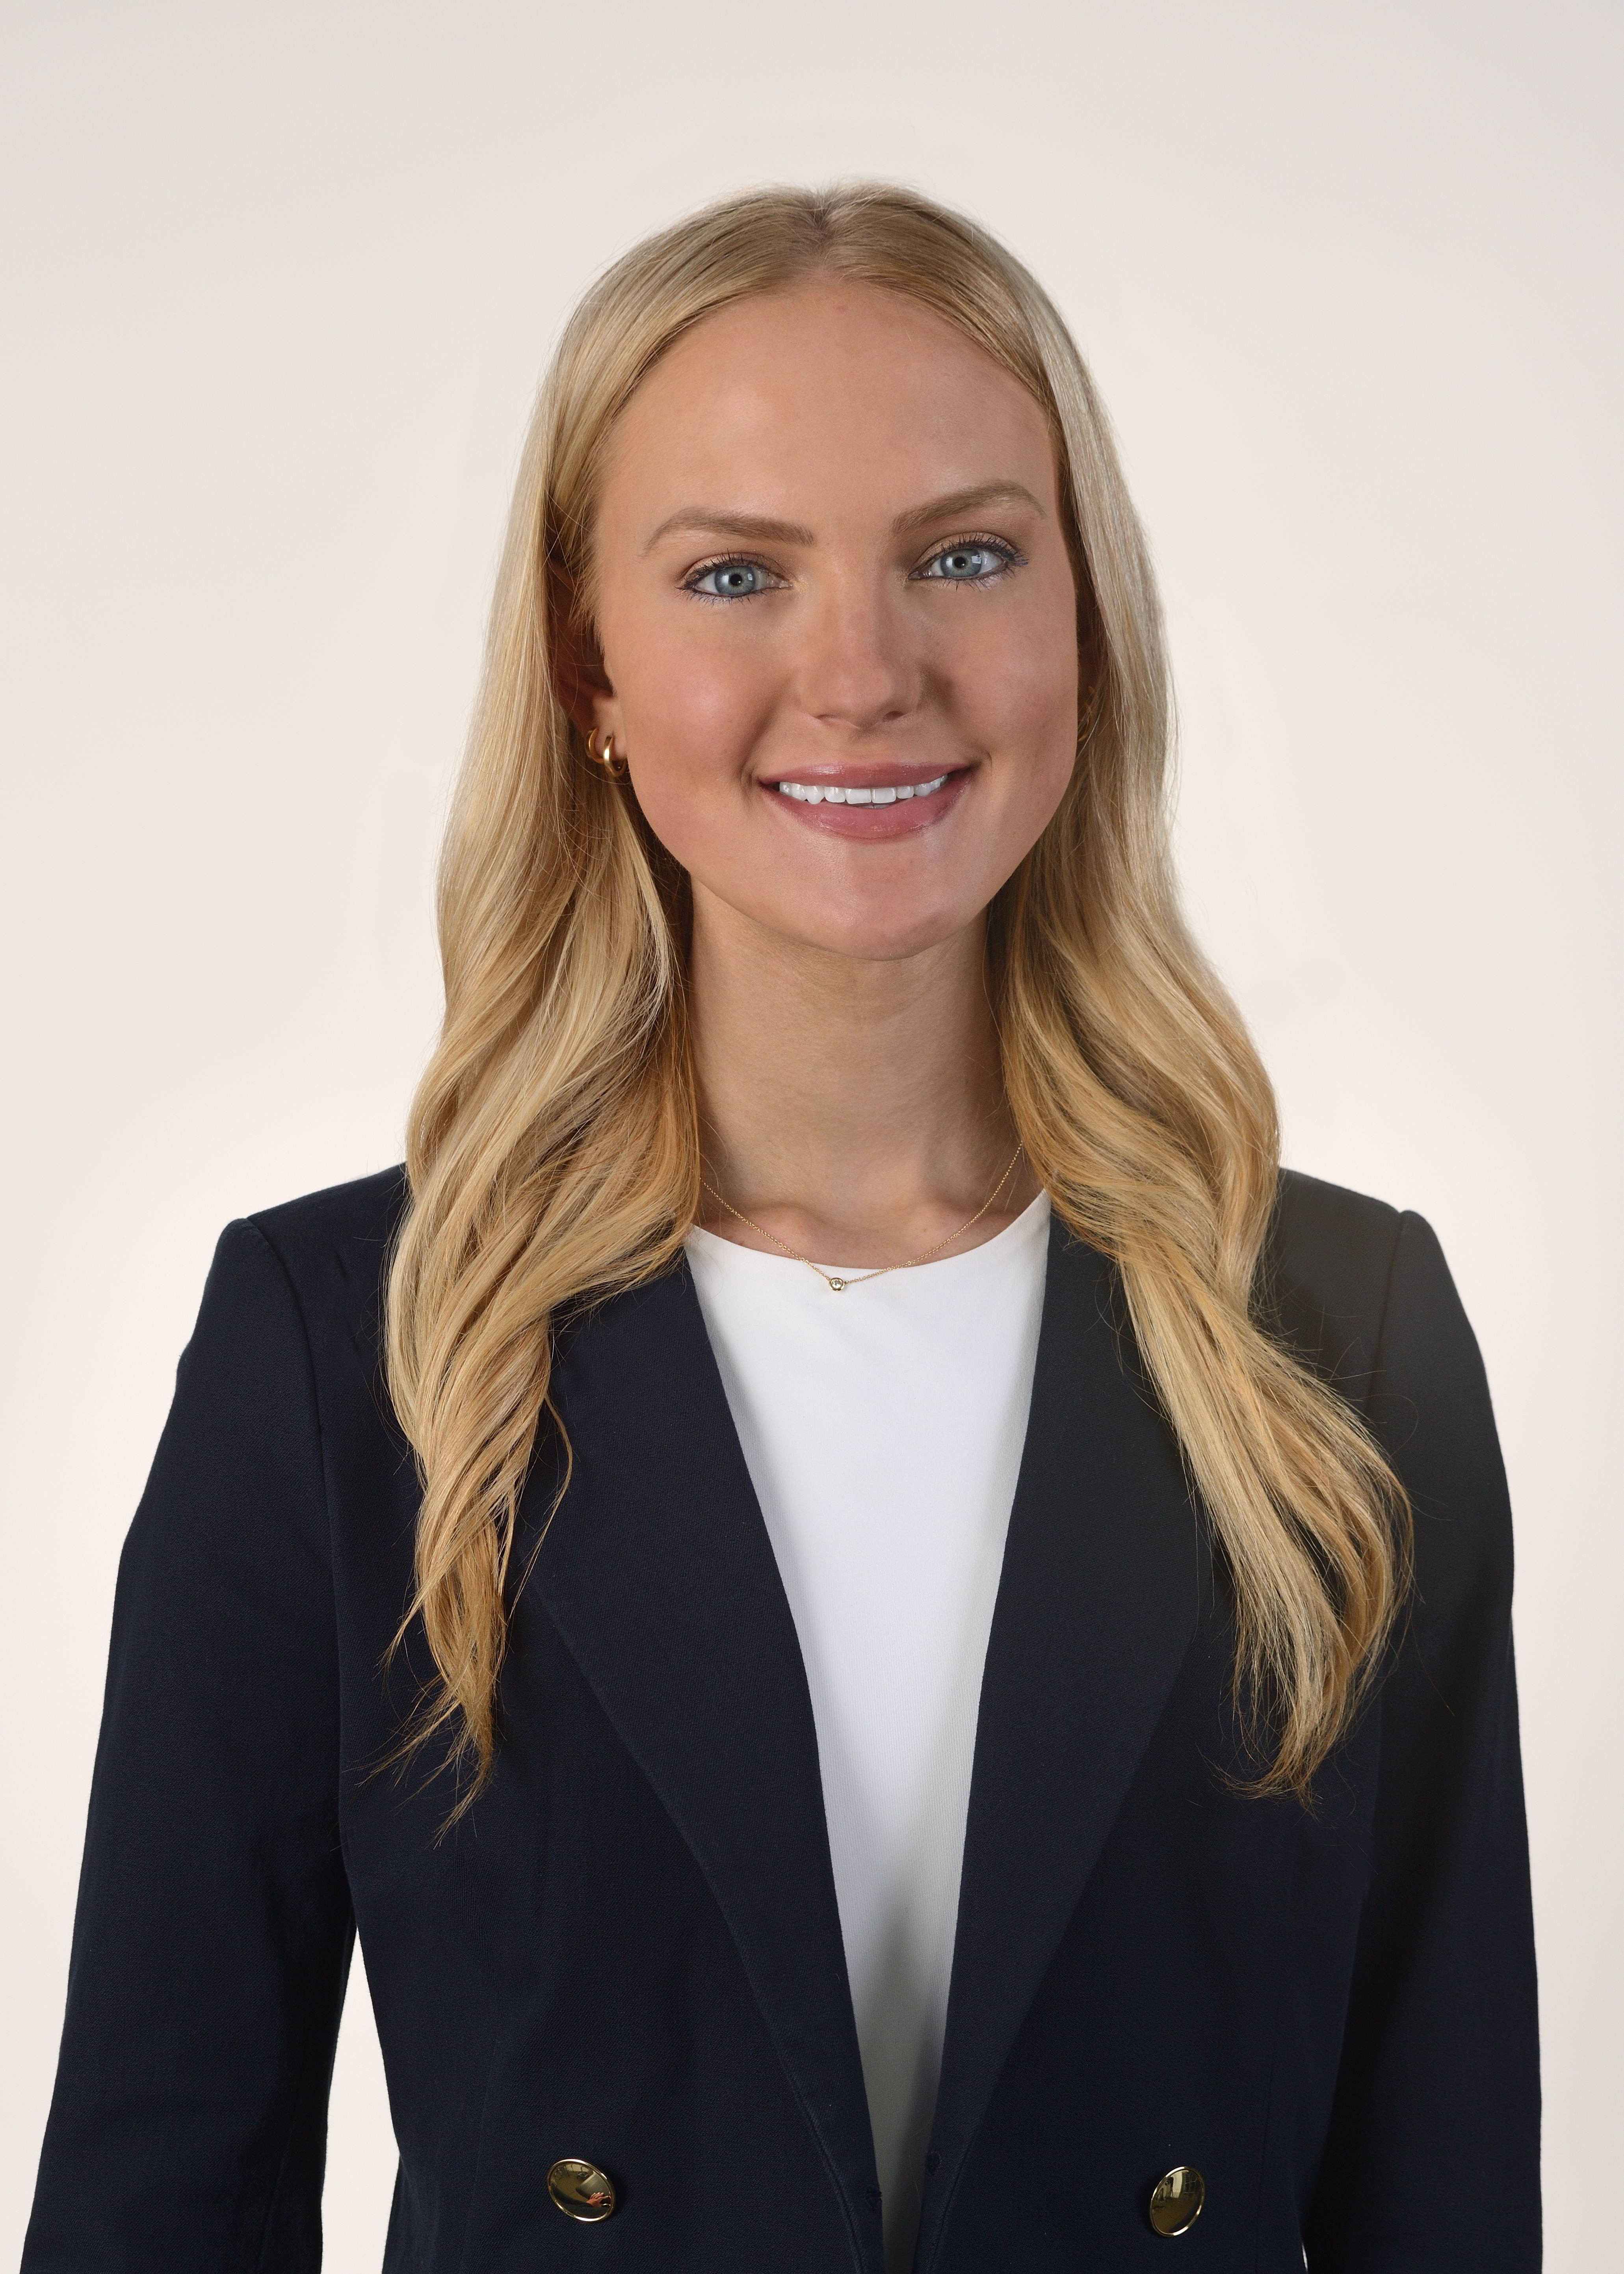
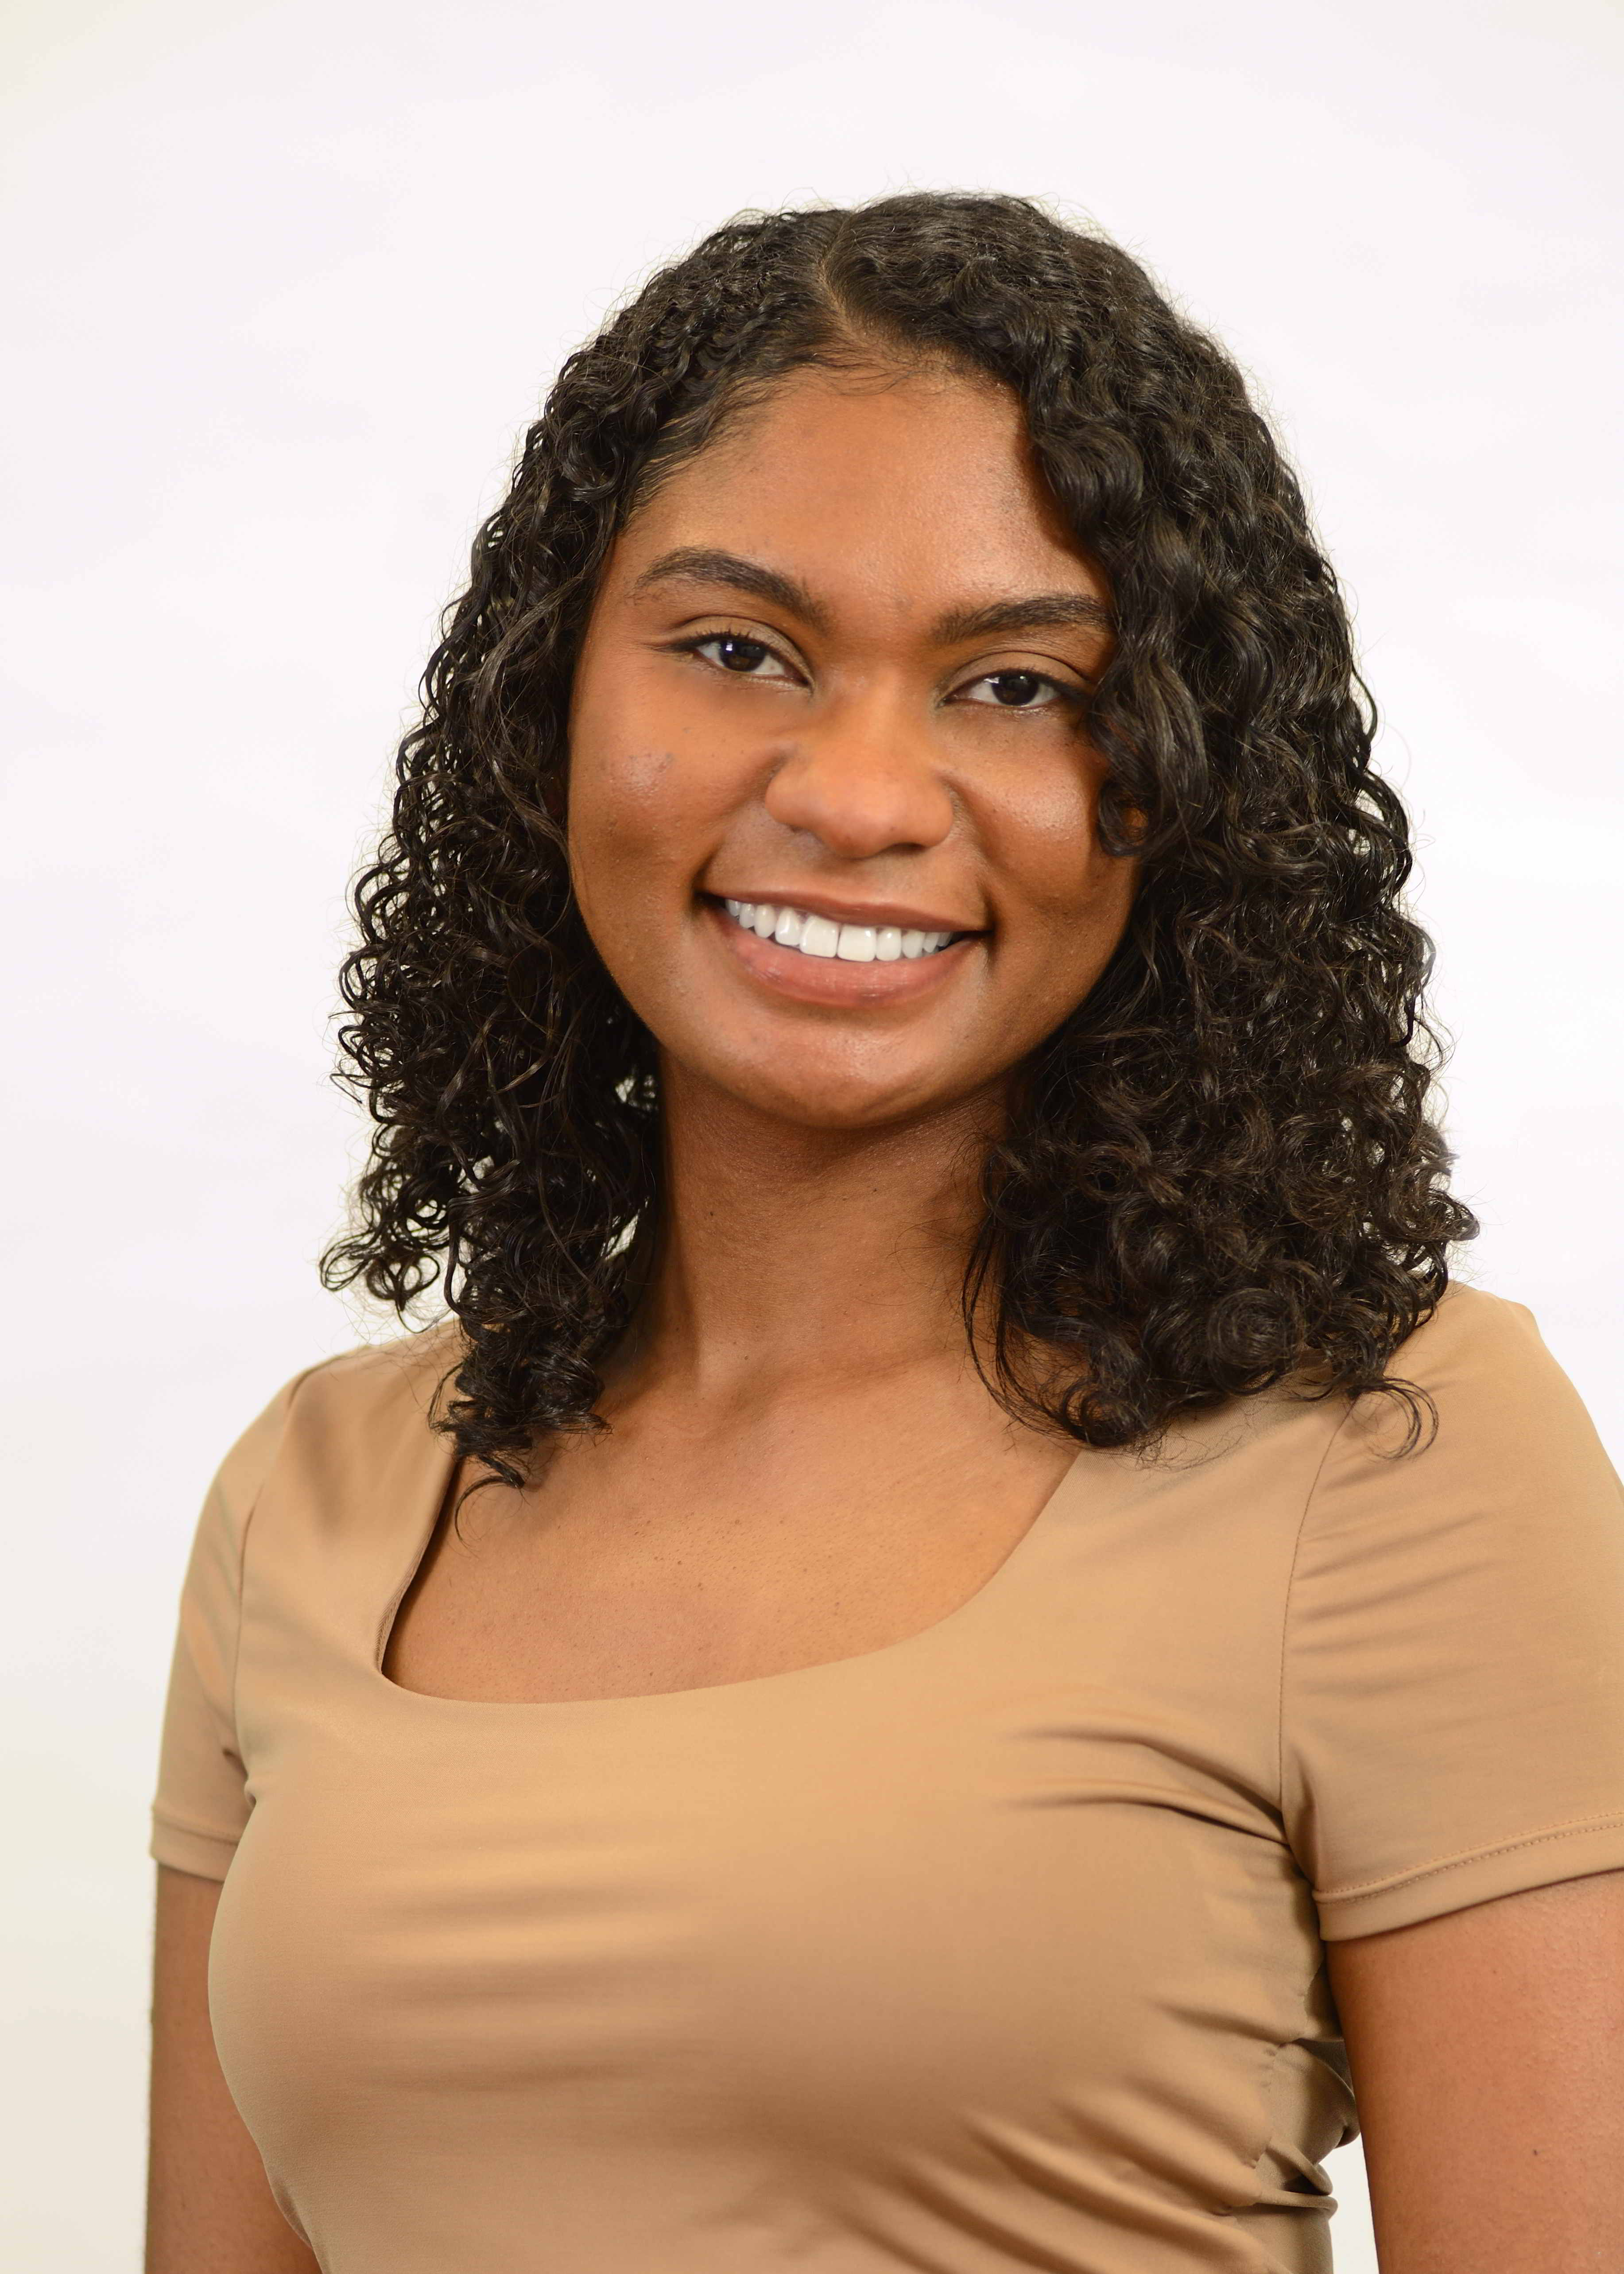
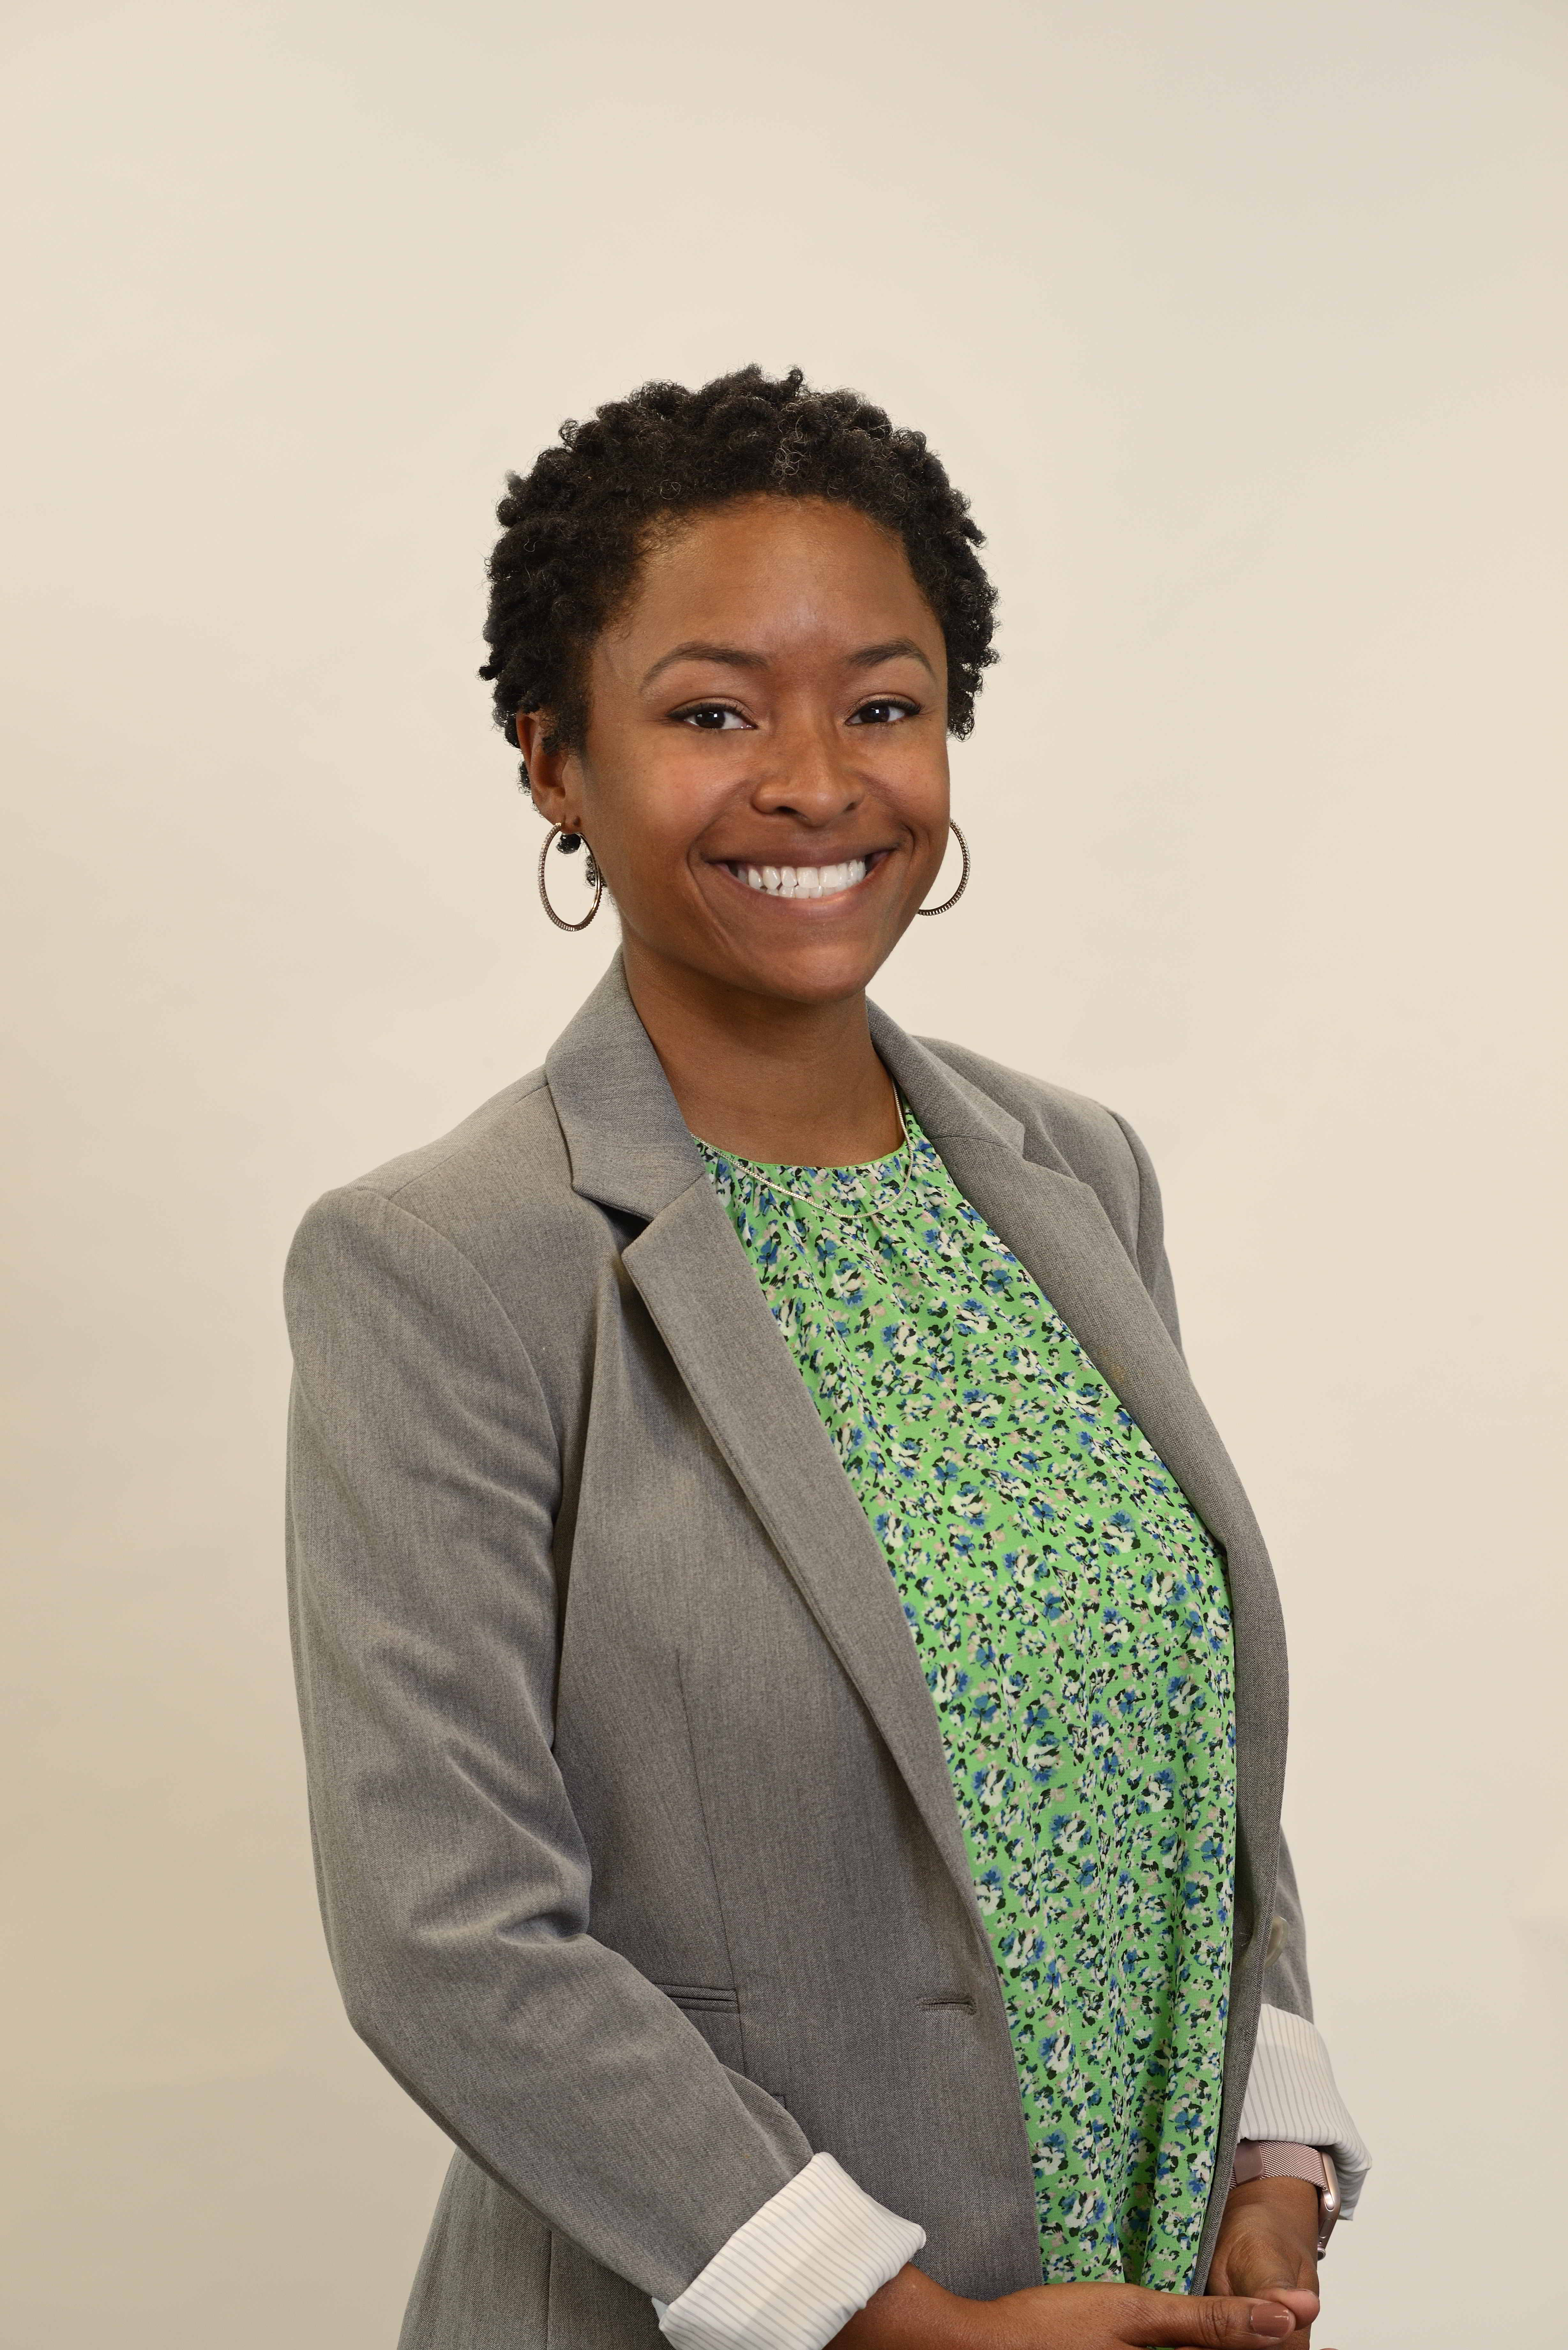
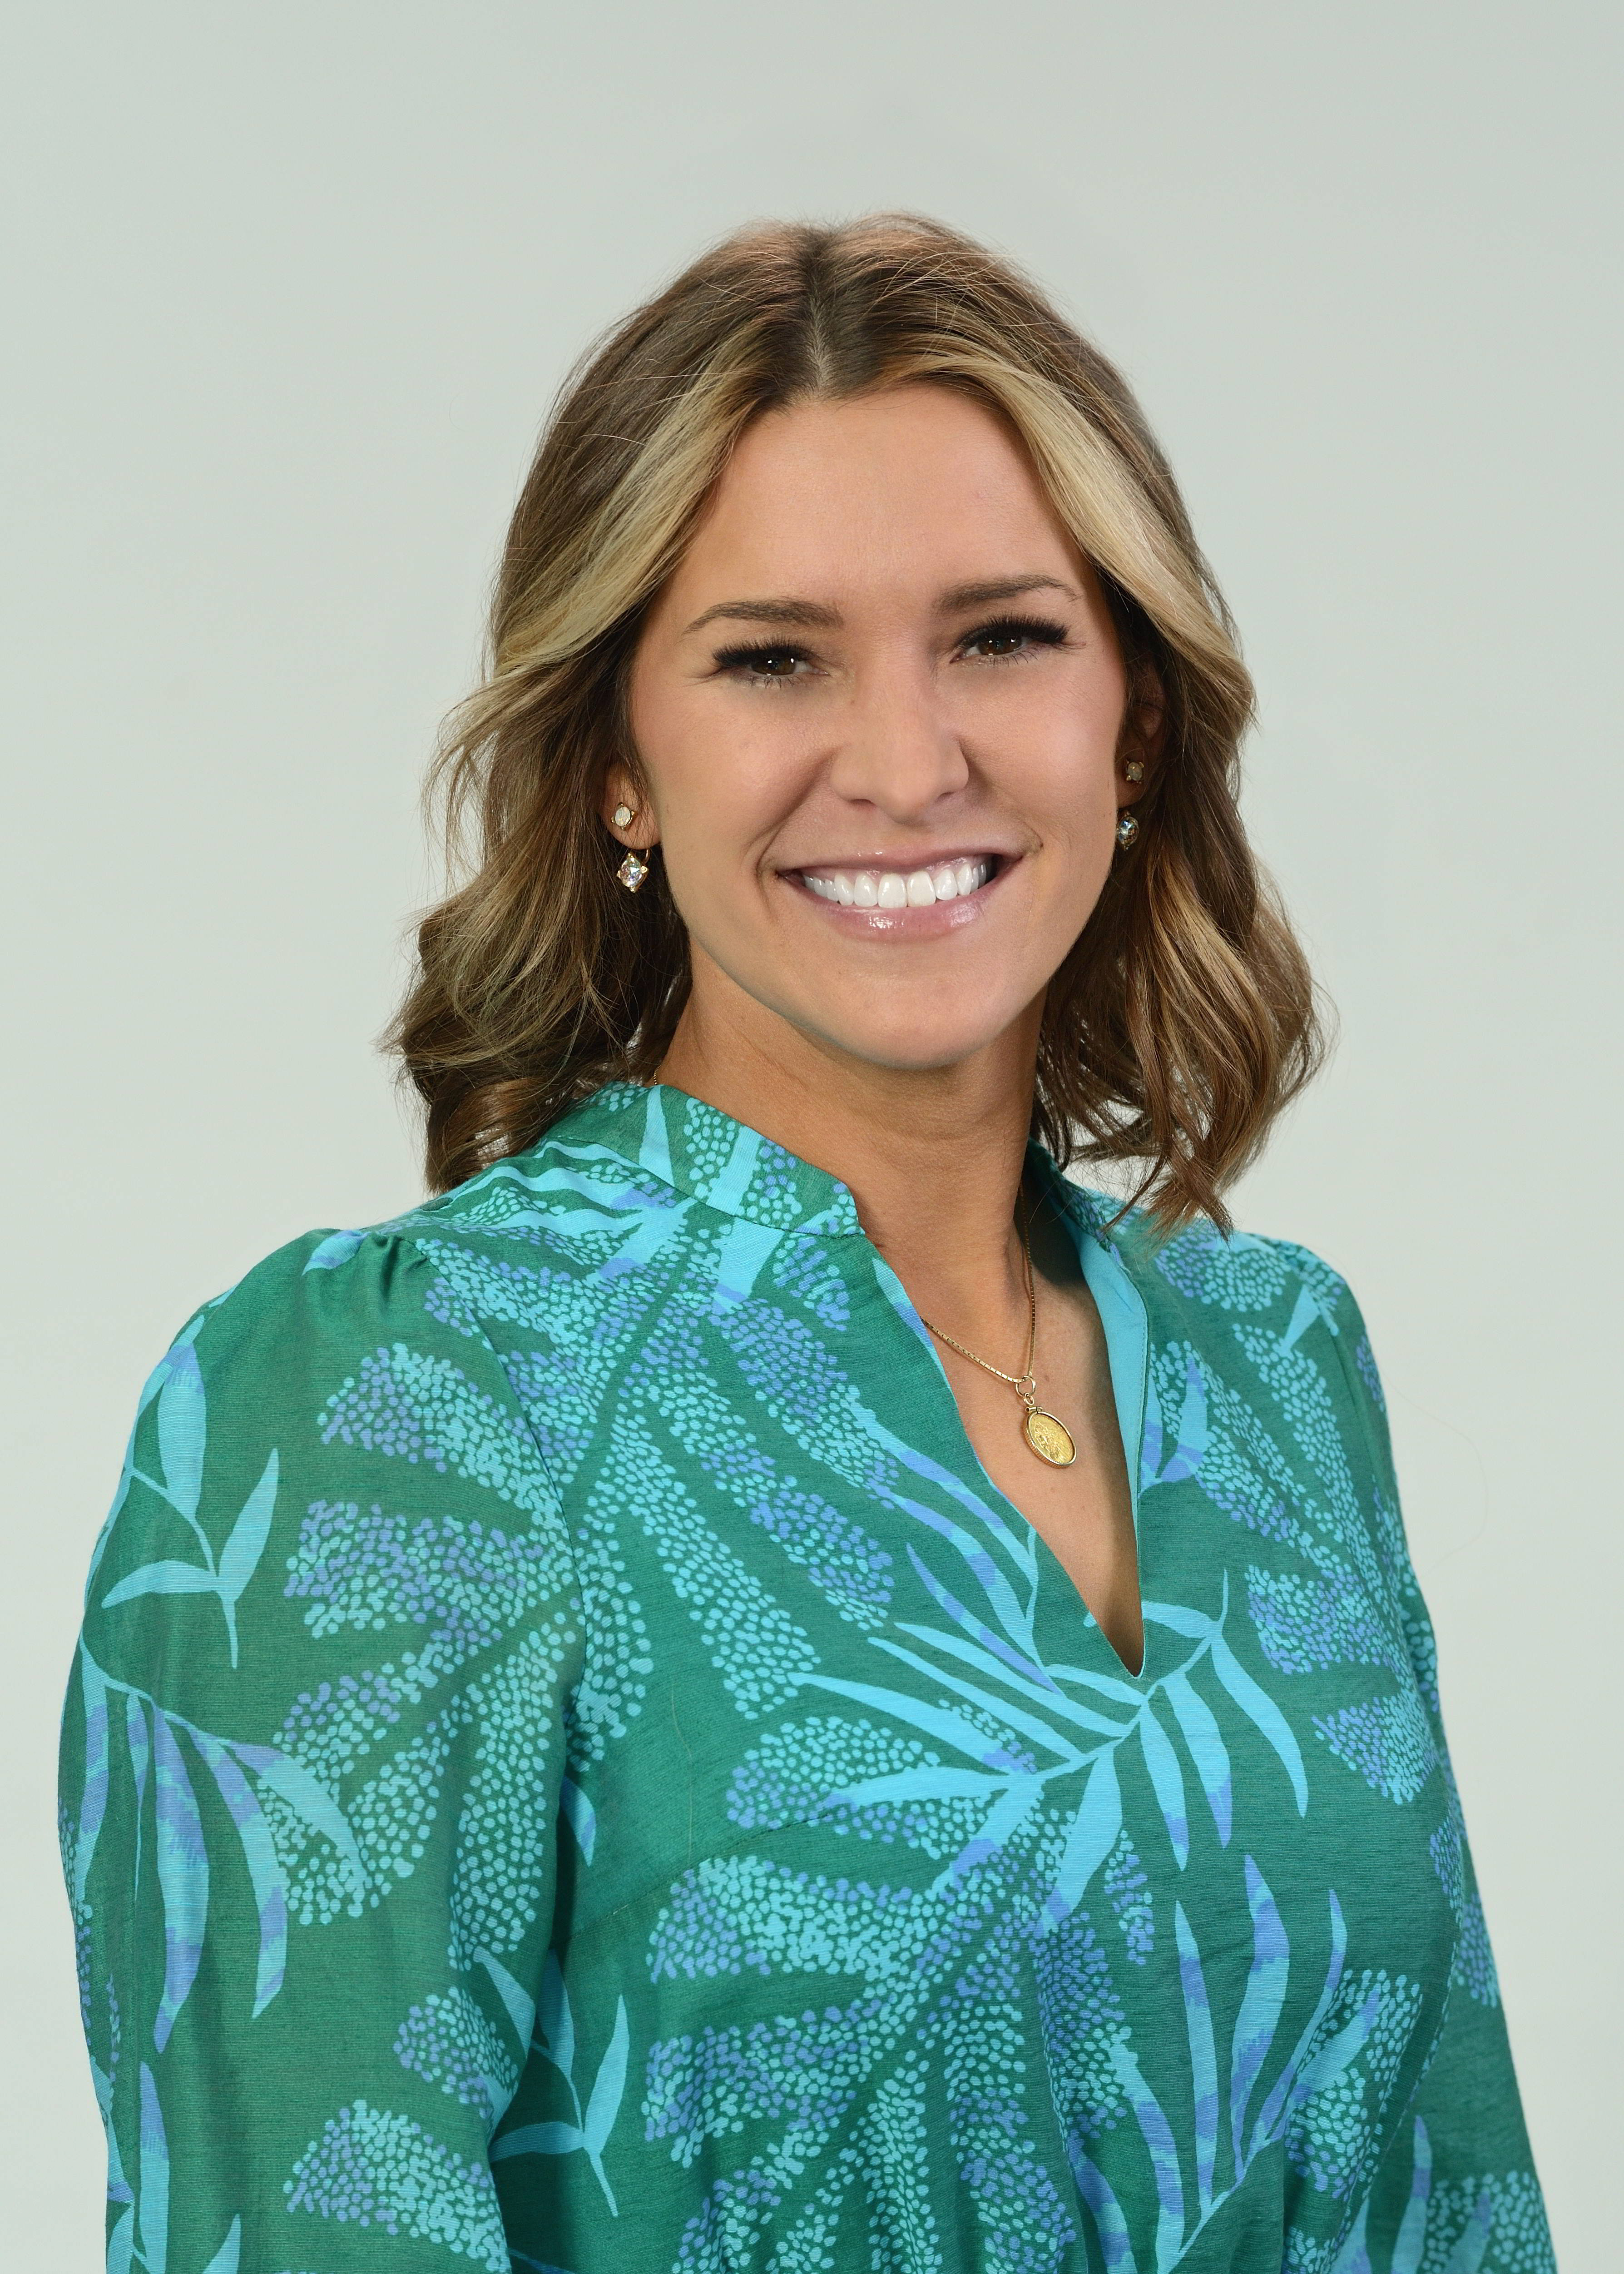
When headshots vary wildly in lighting, background, crop, wardrobe, and retouching style, your brand looks inconsistent—even if everything else is dialed in. The fix is not “a better headshot day.” The fix is a Headshot Style Guide: a simple, repeatable standard that keeps every portrait aligned with your brand across teams, departments, and years.
If you’re responsible for marketing, communications, HR, or business development, this is one of the highest-ROI brand consistency projects you can launch.
What a Headshot Style Guide Does (and Why Decision Makers Should Care)
A headshot style guide is a clear set of choices that makes future portraits predictable, repeatable, and on-brand. It prevents:
- Department-by-department “random headshot” decisions
- Leadership images that look premium while the rest look mismatched
- Rework, emergency replacements, and inconsistent retouching
- Slow onboarding because new hires don’t have usable images


It also improves outcomes that matter:
- Higher trust on bio pages, service pages, and proposals
- Stronger recruiting perception (professionalism and culture)
- Faster content publishing (web, sales, PR, internal comms)
- Cleaner repurposing of assets across channels
Step 1: Decide What Your Headshots Need to Communicate
Start with positioning. Your headshot system should match your brand.
Common use cases:
- Executive / corporate authority (clean, timeless, premium)
- Approachable professional (warm, confident, client-facing)
- Modern / creative industry (more personality, slightly stylized)
- Healthcare / education / public service (trust and clarity)
This is the step most teams skip—then they end up approving images based on personal taste instead of brand intent.
Step 2: Lock the Four Non-Negotiables
A) Background standard
Pick a background strategy that scales over time:
- Seamless white or light gray (versatile and easy to match later)
- Neutral gray gradient (classic and executive)
- Environmental blur (modern, but harder to keep consistent)
- Brand-color background (memorable, but must be controlled carefully)
If you hire frequently, neutral backgrounds are usually the most future-proof.
B) Lighting style
Lighting is the real “signature.” Decide:
- Soft and flattering vs. more contrast and drama
- Consistent catchlights (eye sparkle)
- Shadow density kept consistent across subjects
- Consistent color temperature (avoid mixed lighting that shifts skin tone)


C) Crop and framing
Define exact crops for each channel:
- Website bio (head + upper chest)
- LinkedIn (head + shoulders)
- Speaker/PR (more breathing room)
- Teams/Slack avatar (tight head crop)
Standardize eye height, headroom, and shoulder angle so a leadership grid looks unified.
D) Retouching rules
Retouching is where brands drift the fastest. Define:
- Natural cleanup vs. more polished commercial retouch
- Under-eye reduction (subtle)
- Texture preserved (avoid plastic skin)
- Flyaway hair cleanup
- Teeth whitening (minimal, if any)
- Color grading consistency across the whole set
Write it down—so “style” doesn’t change every time an approver changes.
Step 3: Wardrobe Guidance That People Follow
Your guide should give people easy wins.
Recommend:
- Solid colors and simple patterns
- Mid-tones and darker tops for light backgrounds
- Jackets/blazers for leadership and business development
- A consistent “level of formality” by department (so a team looks like a team)
Avoid:
- Tiny patterns (moire on camera)
- Distracting logos
- Bright whites against white backgrounds
- Wrinkled fabrics (reads unprepared instantly)
A simple one-page “what to wear” sheet increases compliance dramatically.

Step 4: Standardize Expression, Posture, and Energy
A headshot is not just lighting and lens choice—it’s direction.
Define:
- Smile level (neutral, soft smile, full smile) by role type
- Posture cues (slight lean forward reads engaged and confident)
- Chin and head angle standards
- Relaxed shoulders and natural stance
Great headshots are coached—so people look confident, consistent, and human.
Step 5: Choose the System That Fits Your Organization
Option A: Annual/biannual headshot day
Best for large teams. Predictable budget. Maximum consistency.
Option B: Rolling onboarding sessions (monthly/quarterly)
Best for organizations hiring often.
Option C: Hybrid
Leadership refresh annually + quarterly onboarding sessions.
Include who owns the system (Marketing, HR, Comms) and how often refreshes happen.
Step 6: Specify Deliverables So You Don’t Pay Twice
A good shoot can still fail if the deliverables aren’t practical.
Your guide should define:
- High-resolution JPG + archival format if required
- Web-optimized versions sized for your CMS
- Transparent PNG cutouts if you place portraits in designs
- Naming convention:
Lastname_Firstname_Department_YYYY - Cropped set for LinkedIn, web bio, speaker, and avatar
- Standard color space (sRGB for web)
This prevents endless cropping, resizing, and “can we redo the exports?”
Step 7: Create an Exception Policy (Because Exceptions Multiply)
Someone will ask for a different background or heavy retouching. Your guide should say:
- What exceptions are allowed
- Who approves exceptions
- How exceptions are documented
- How exceptions stay contained so the whole library doesn’t drift
This is how brands protect consistency.
Step 8: Make It Real With a One-Page Reference Sheet
The style guide should have a one-page “at a glance” sheet:
- Background example
- Lighting example
- Cropping examples for each channel
- Wardrobe do/don’t
- Retouching statement
- Prep checklist (lint roller, rest, hydration, etc.)
If it’s easy to use, it gets used.


How St Louis Headshot Photographer Helps Organizations Implement This
At St Louis Headshot Photographer, we help businesses and organizations build a headshot system that stays consistent across departments, locations, and years—not just a one-time photo day.
We’re a full-service professional commercial photography and video production company with the right equipment and creative crew service experience for successful image acquisition. We offer full-service studio and location video and photography, plus editing and post-production and licensed drone capabilities. St Louis Headshot Photographer can customize productions for diverse media requirements, and repurposing your photography and video branding to gain more traction is another specialty. We’re well-versed in all file types, media styles, and the accompanying software, and we use the latest in Artificial Intelligence across our media services to improve consistency, speed, and deliverable flexibility.
Our private studio lighting and visual setup is ideal for small productions and interview scenes, and our studio is large enough to incorporate props to round out your set. We support every aspect of your production—from setting up a private, custom interview studio to supplying professional sound and camera operators, as well as providing the right equipment—ensuring your next video production is seamless and successful. We can fly specialized drones indoors when the project calls for it.
As a full-service video and photography production corporation serving the St. Louis area since 1982, we’ve partnered with businesses, marketing firms, and creative agencies to deliver headshots and marketing media that look intentional, consistent, and ready for real-world use.
If you want your brand to look unified everywhere your team appears, the best time to build your headshot style guide is now.
314-913-5626 Mike Haller
